Turn an ordinary afternoon into a creative Halloween activity with simple crafts made from paper, recycled supplies, paint, and household materials.
*Ages 3–12 *Budget-friendly *Family activity *Beginner-friendly
Halloween crafts give children a fun way to celebrate the season while developing creativity, focus, and confidence. The best projects are simple enough for small hands but exciting enough to display around the home or classroom.
You can make these Halloween crafts during a rainy afternoon, at a classroom party, or as a weekend family activity. Most use supplies you may already have, such as paper plates, cardboard rolls, paint, glue, yarn, jars, and construction paper.
What You Need for These Halloween Crafts
- Construction paper and cardstock
- Paper plates and paper bags
- Toilet paper rolls or cardboard tubes
- Paint, markers, and paintbrushes
- Glue, scissors, yarn, and pipe cleaners
- Googly eyes and tissue paper
- Clean jars and battery-operated tea lights
Safety note: Adults should supervise scissors, hot glue, glass jars, small parts, and any detailed cutting. Use battery-operated lights only—never candles or open flames near paper or cardboard.
1. Paper Plate Spider Web
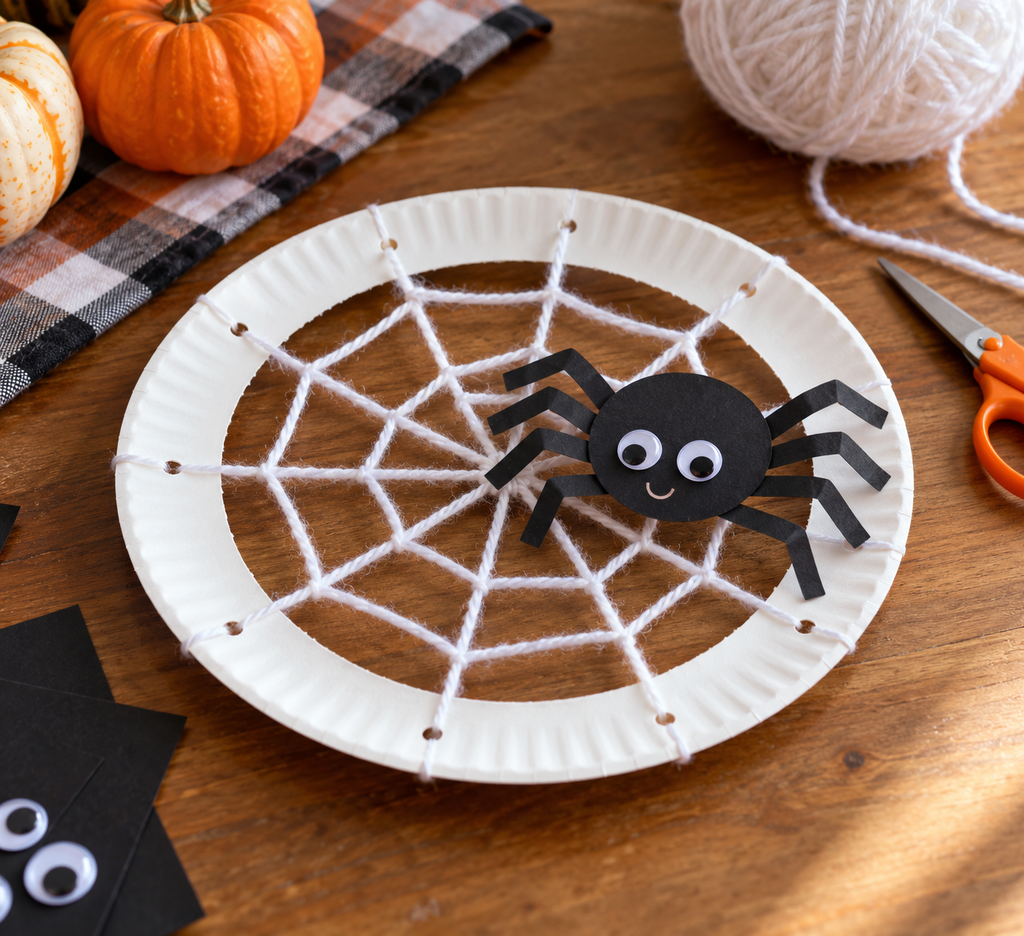
Turn a plain paper plate into a woven spider web. Punch evenly spaced holes around the rim, then let children thread white or silver yarn from one hole to another until a web pattern forms. Add a paper spider, pom-pom spider, or googly eyes and hang the finished craft in a window.
This project is especially useful for practicing hand-eye coordination and fine motor skills.
2. Cardboard Tube Halloween Monsters
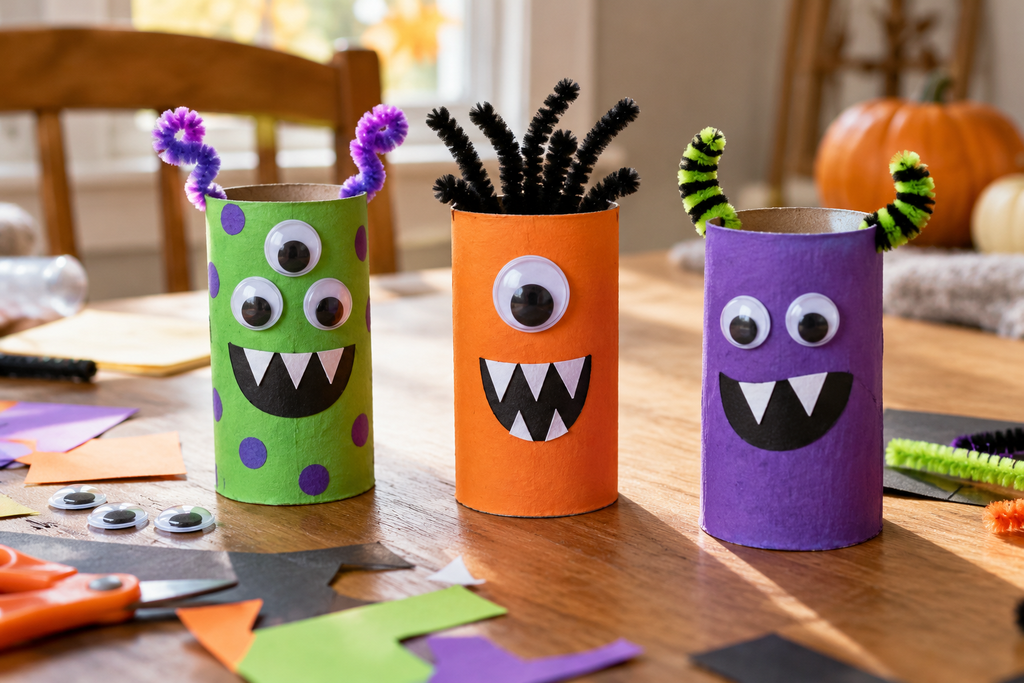
Paint clean cardboard tubes in green, purple, orange, or blue. Once dry, add mismatched googly eyes, paper teeth, pipe-cleaner horns, and silly expressions. Display several monsters together on a shelf for a colorful Halloween decoration.
Invite every child to invent a name and personality for their monster.
3. Handprint Ghost Keepsake
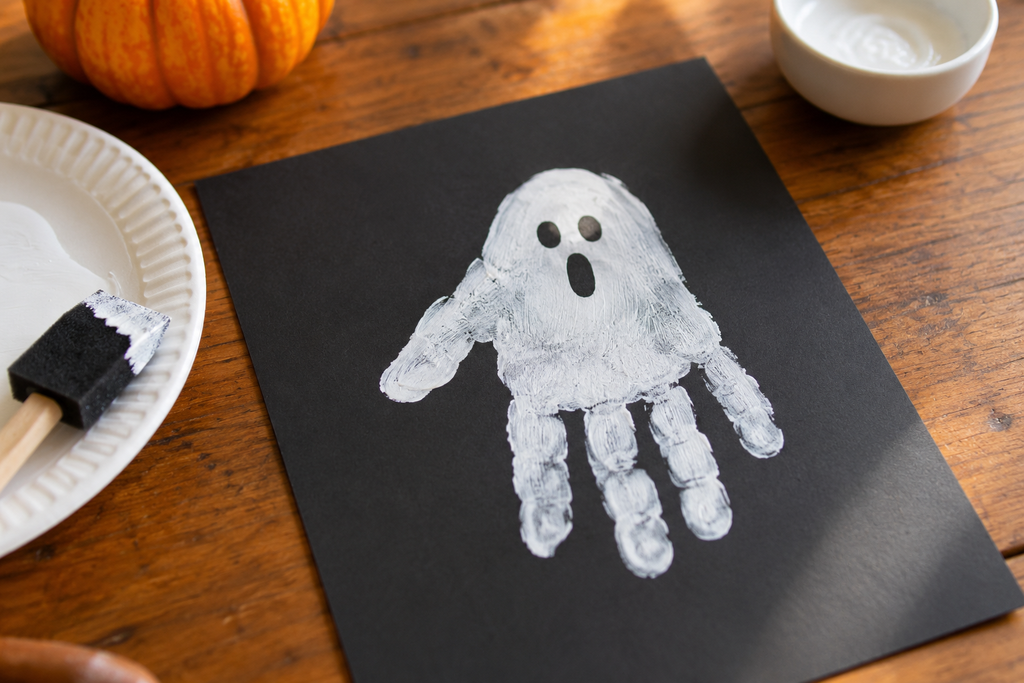
Press a child’s hand into white washable paint and stamp it onto black cardstock with the fingers pointing downward. After the paint dries, add two eyes and a small mouth to the palm area. Decorate the background with tiny stars, pumpkins, or orange dots.
Frame the finished artwork as a Halloween keepsake that records how small your child’s hand was that year.
4. Paper Bag Haunted House
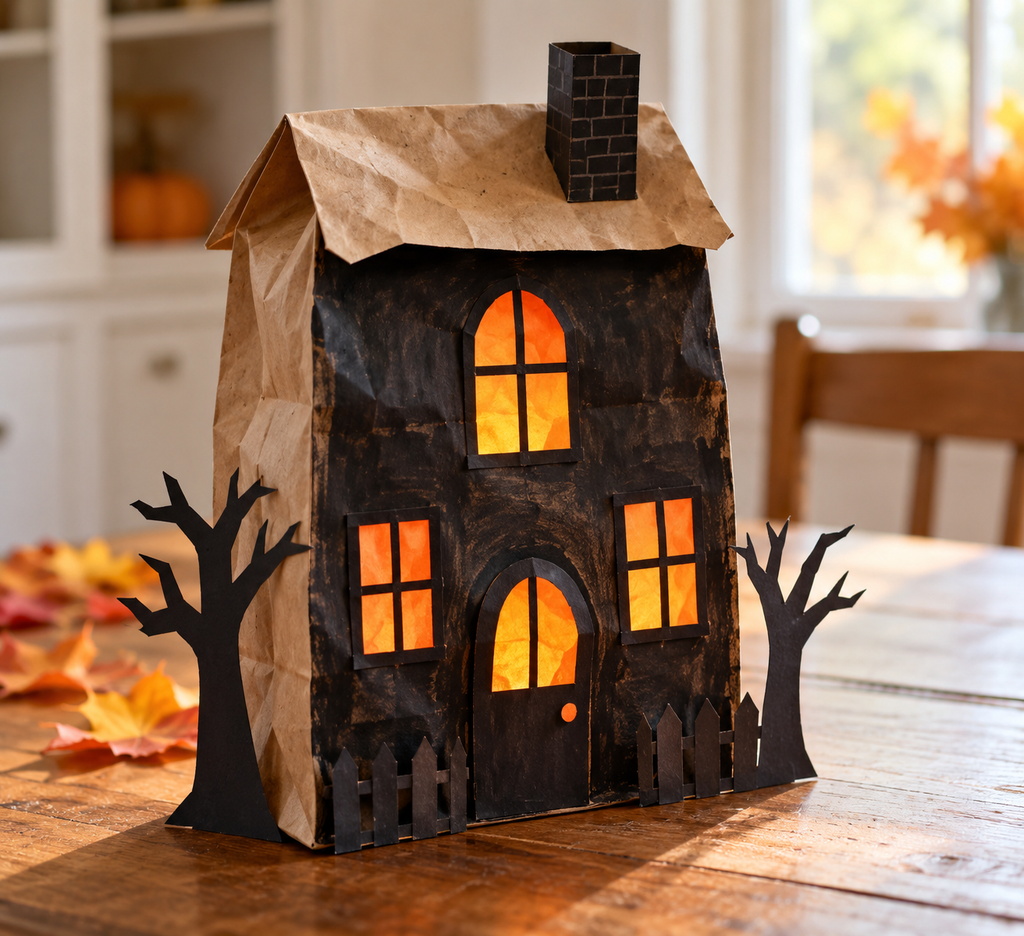
Fill a brown paper lunch bag loosely with crumpled newspaper. Fold the top into a pointed roof, then decorate the bag with dark paint, paper windows, a door, and a chimney. Use yellow or orange paper behind the windows to create a warm glowing effect.
Make several houses in different sizes to create a small haunted village display.
5. Marble-Painted Pumpkin Art
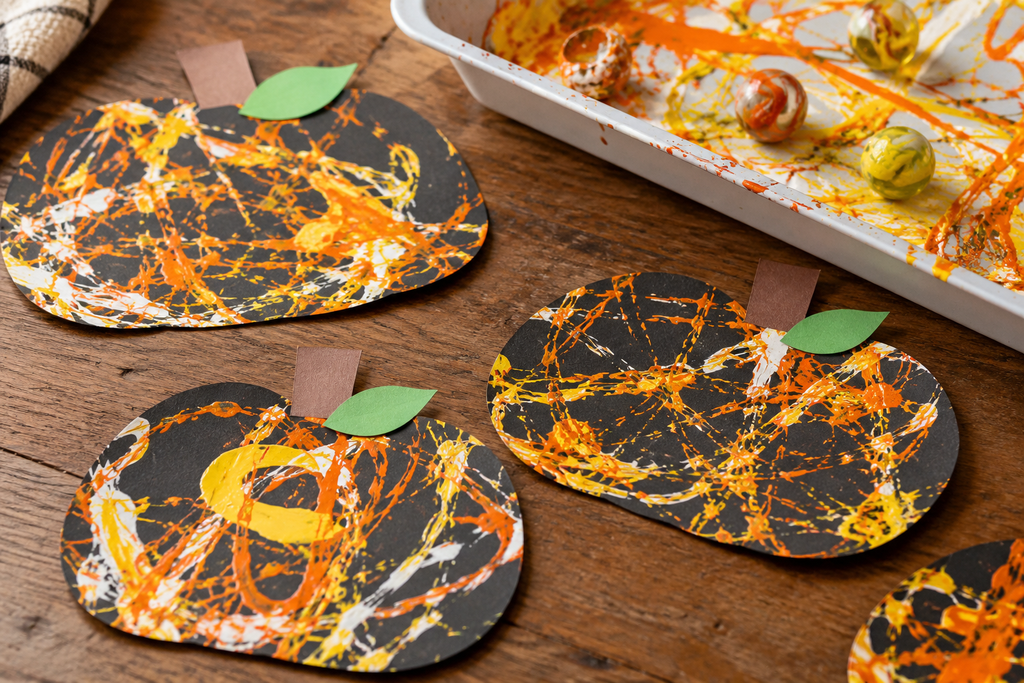
Place black cardstock in a shallow tray and add small drops of orange, yellow, and white paint. Let children roll marbles through the paint by gently tilting the tray. When the paper dries, cut out pumpkin shapes and add green paper stems.
The swirling paint patterns make every pumpkin look different.
6. Halloween Sock Puppet
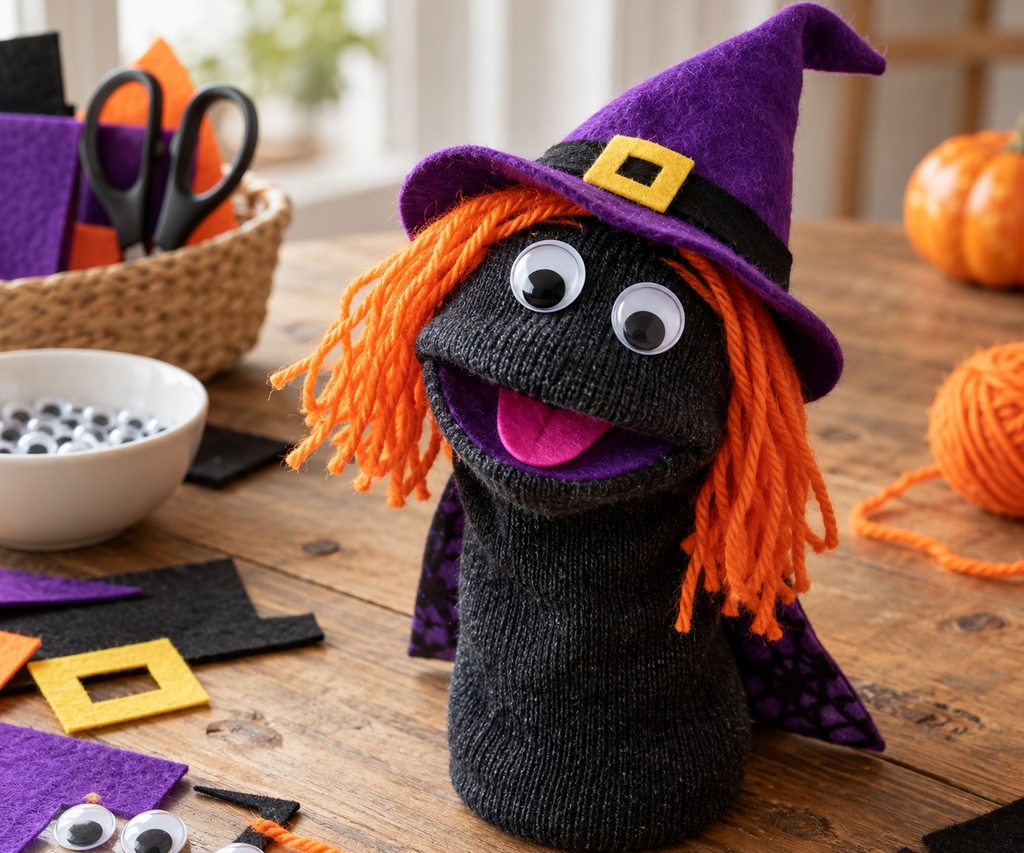
Use an old dark-colored sock to create a witch, vampire, monster, or friendly ghost puppet. Add eyes, felt hair, a paper hat, a cape, or small fabric teeth. Children can use their finished puppets for Halloween stories and imaginative play.
For younger children, prepare the felt pieces in advance so they can focus on choosing the character’s face and colors.
7. Hanging Coffee Filter Ghosts
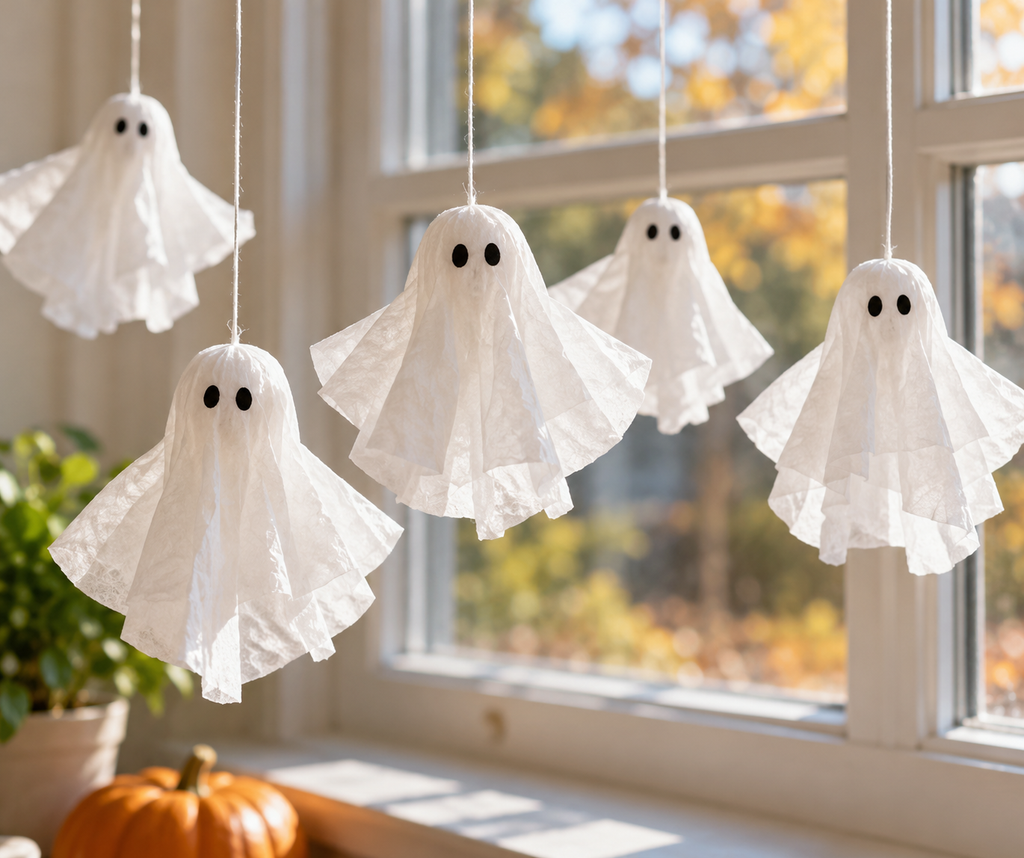
Place a small cotton ball or crumpled tissue ball under a white coffee filter. Gather the filter below the head and tie it with white thread. Draw two dot eyes with a black marker and add a loop at the top for hanging.
Hang several ghosts at different heights in a window or doorway for a soft, playful Halloween display.
8. Dot-Painted Halloween Characters
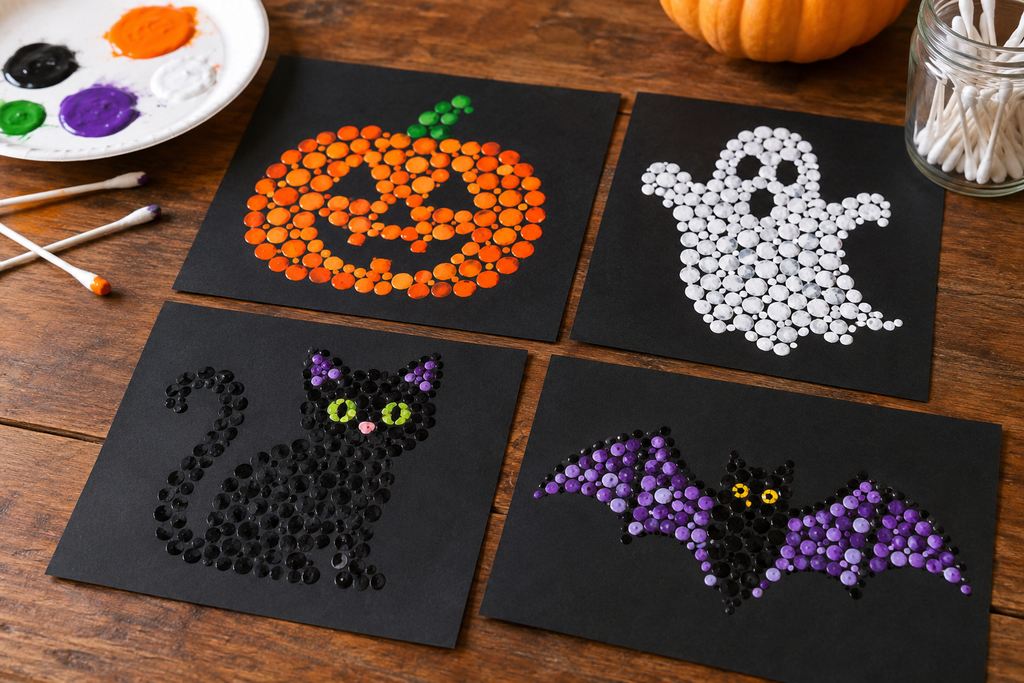
Draw simple pumpkin, cat, bat, or ghost outlines on black paper. Children can fill the shapes using cotton swabs or sponge daubers dipped in orange, white, purple, green, and black paint.
Dot painting is a low-mess activity that works well for preschoolers and early elementary-age children.
9. Mummy Jar Luminary
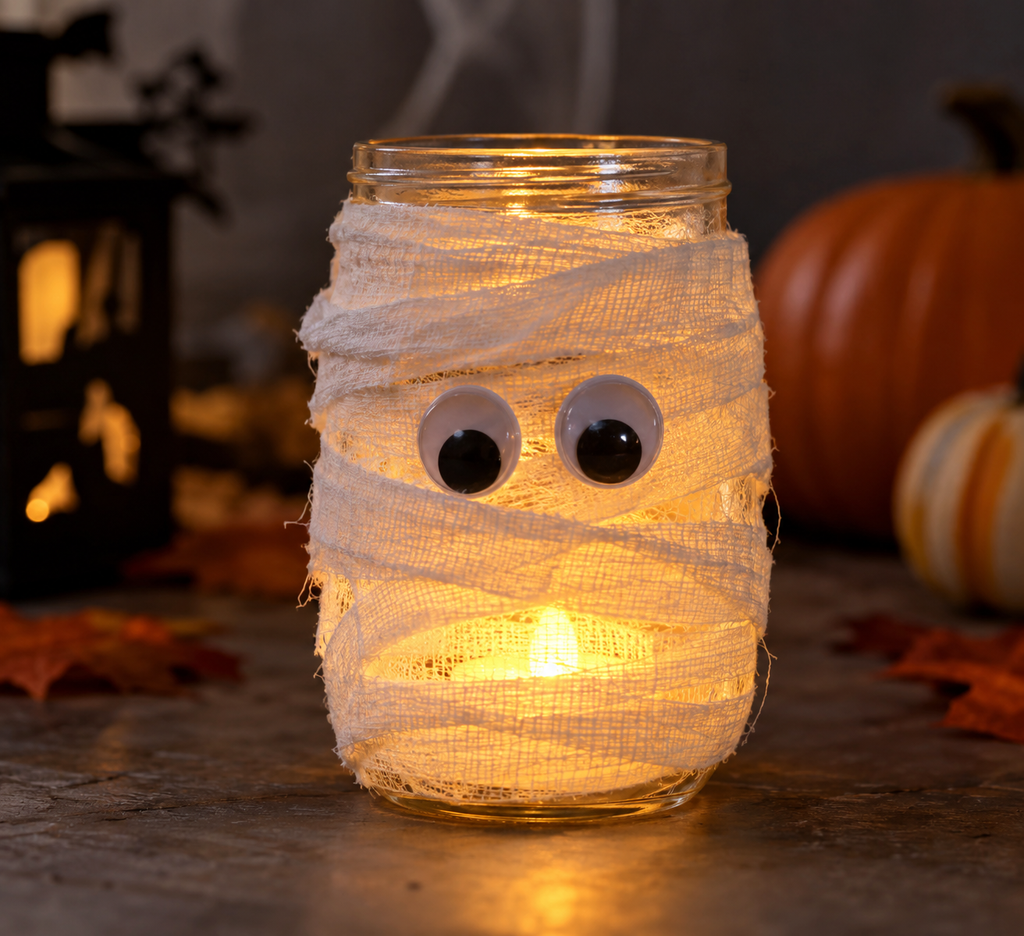
Wrap a clean jar with strips of white gauze or crepe paper, leaving a small space for two eyes. Secure the end with craft glue and attach googly eyes. Place a battery-operated LED tea light inside to create a soft mummy glow.
Keep the jar on a stable surface and remove the light after use.
10. Popsicle Stick Frankenstein
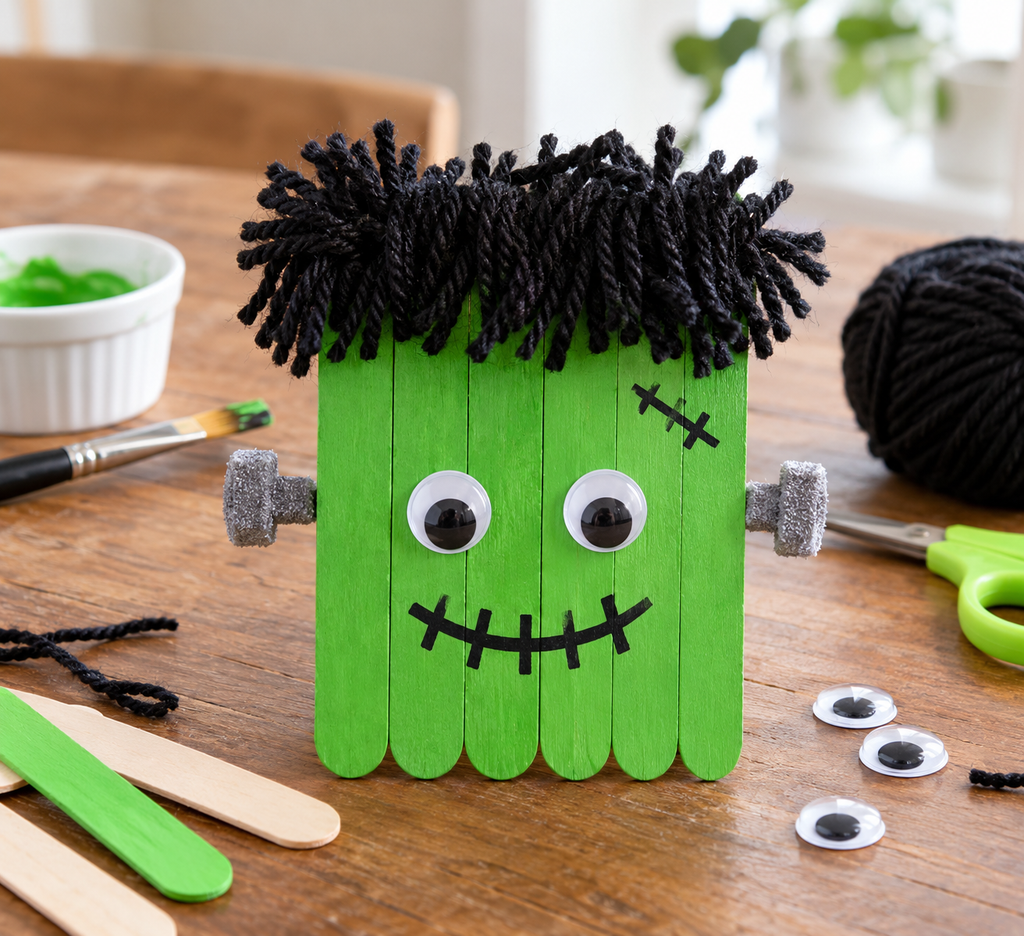
Glue craft sticks side by side to form a rectangular panel. Paint the panel green, then add eyes, a stitched mouth, cheek details, bolts, and black yarn hair. Attach a magnet to the back for a refrigerator decoration or add string for hanging.
This craft is a fun way to introduce children to simple shapes, patterns, and character design.
How to Make Halloween Craft Time More Enjoyable
- Cover the table before opening paint or glue.
- Prepare supplies in small trays so children can work independently.
- Let children choose their own colors and expressions.
- Allow enough drying time before moving projects.
- Display finished crafts where children can see their work.
Final Thoughts
These 10 Halloween crafts for kids offer a mixture of painting, cutting, weaving, recycling, and imaginative play. Choose a quick project for a school-night activity or combine several crafts for a full Halloween craft afternoon.
The finished decoration is only part of the experience. The creativity, conversation, and pride children feel while making something themselves are what make these activities memorable.